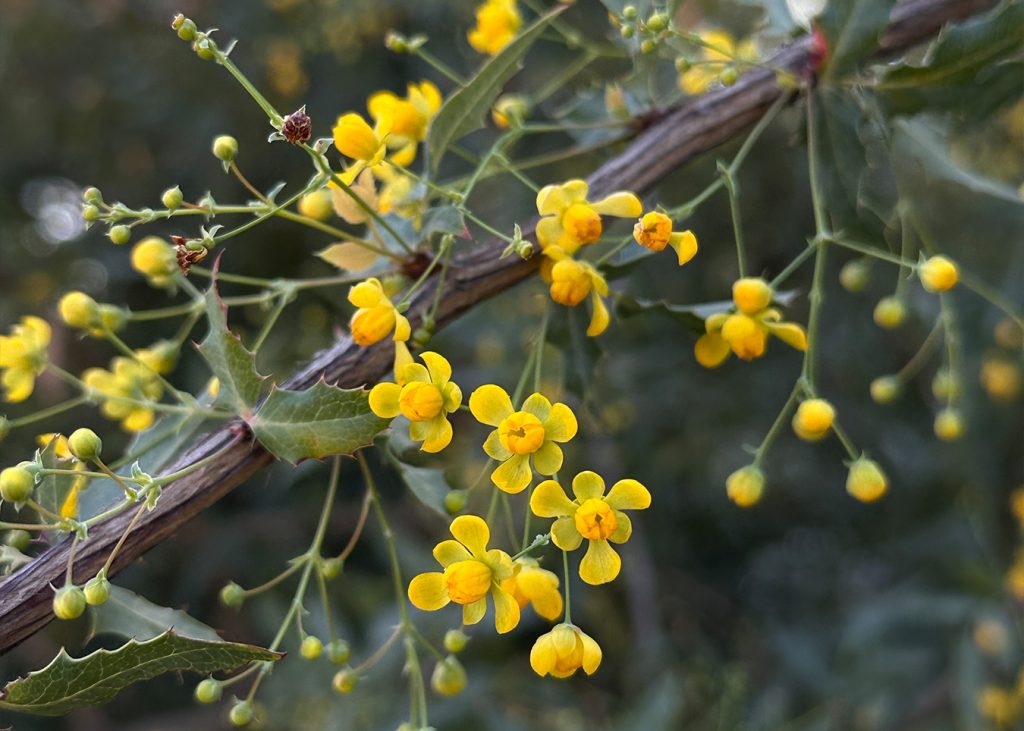
Are you planning to apply for the Native Plant Garden Tour, and need to photograph your garden for the Host Application? We’ve created this guide to help you best capture your garden’s unique charm!
If your garden is selected to be on the Tour, the photos you submit via the Host Application and if accepted, our Host Questionbaire, will be published in our Garden Tour Guidebook and on our website to promote your garden.
Photographing your garden yourself? Not a problem! Follow the tips below to capture your garden at its very best.
1. Shoot Photos Mostly in Landscape Orientation
Landscape (horizontal) orientation photos help us connect with the space and emphasize its expanse.
We love to receive a variety of photos of your garden, and both portrait and landscape orientation (vertical and horizontal) can work, but please consider shooting mostly in landscape.
2. Consider Lighting and Time of Day
Light and shadow make all the difference in a photo, so consider the time of day to achieve the best lighting:
Diffused Light: We recommend shooting early in the morning or on cloudy days, for soft, even, diffused light. This lighting is great for capturing detail, and doesn’t have extreme light/shadow. In Los Angeles, this often means shooting sometime before 9 AM.
Bright Sunlight: Photos taken midday in the sun will have harsher light, and a higher contrast between highlights and shadow. This can be the least desirable time to photograph your garden.
Slanted Light: For dramatic lighting, try shooting at golden hour, when the sun is low in the sky, and see what stylized magic you capture.
Photo by Derek Beumer, Chaparral Court Garden
3. Be Decisive in Framing Your Shot
Be decisive and intentional in aiming your camera, and take your time with framing each shot. Try to avoid the “spray and pray” method — taking way too many photos in succession in hopes that you’ve captured something good.
Consider the framing of the image you want to capture:
What draws your eye?
What do you want the viewer to notice in this photo?
What’s in the foreground and background?
What’s in focus? What isn’t?
4. Go Beyond the Human Perspective
Experiment with shooting from positions other than standing at eye level.
See how the view changes when you crouch down a little, and try various straight-forward or upward-slanted angles, rather than pointing your camera downward at a plant.
This is a simple tactic that can level up your framing by offering a view that steps outside of the ‘human perspective’.
“I had to lay flat on my back in order to get this perspective of the tree. Sometimes you have to get into weird positions to capture the breadth of your subject!” -Hannah Perez, Creative Lead at TPF
Photos by Lesly Hall Photography, Urban Wildlife Habitat Garden
5. Take a Variety of Shots
Take a range of shots that show sweeping garden views, special planted corners, a mix of the hardscape & softscape, shots with your home in it, and glamour photos of your most impressive plants!
We love to receive a mix of wide shots and close-ups that help tell the story of your garden and show off its unique features.
Do you have photos of wildlife in your garden like birds, butterflies, bears, or bobcats? We want to see those, too!
6. Camera Choice & Settings
You don’t have to have an expensive camera to take fantastic photos.
By taking inspiration from this guide, you can accomplish great garden photography with a phone, point-and-shoot, DSLR, or whatever type of camera you have access to, no matter your experience level.
One important thing to note: check your camera (or phone) settings. If you have the option, try to set them to the highest quality available. We accept .jpg, .heif, and .tif photo files.